Measure once.
Choose a better fit.
A useful storeroom rack layout starts with the space you can actually use. Measure the walls, check the doorway and account for anything that projects into the room before selecting rack sizes.
1. Measure the clear space
Record your internal room length and width in millimetres. For example, 2.2 metres is 2200mm. Measure at floor level and at shelf height: skirting, columns and uneven walls may reduce the available space. Use the smallest clear measurement along the planned rack position.
Record the ceiling height separately. QH ML racks are available in 1830mm, 2100mm and 2400mm heights; check overhead pipes and beams before choosing an upgrade. The online planner checks the floor layout, not overhead clearance.
2. Keep the doorway usable
Mark where the door is and whether it swings into the room. Measure the space needed for it to open, including its handle. Check power sockets, ventilation openings, pipes and access panels. Keep an accessible route for the items you plan to store, such as suitcases or large boxes.
Take a photograph from the doorway and one of each wall. Send these with your measurements so QH can check the proposed configuration before installation.
3. Choose 400mm or 500mm depth
A 400mm-deep rack uses less floor space and may leave more room to move in a narrow storeroom. A 500mm-deep rack provides a deeper shelf for larger items. Measure your storage boxes and compare both options in the planner. The best option depends on the items you store and the access you need.
Available rack lengths are 900mm, 1000mm, 1200mm and 1500mm. These are standard product sizes; do not round a tight room measurement up to make a rack appear to fit.
4. Add the adjoining depth at an L-shape corner
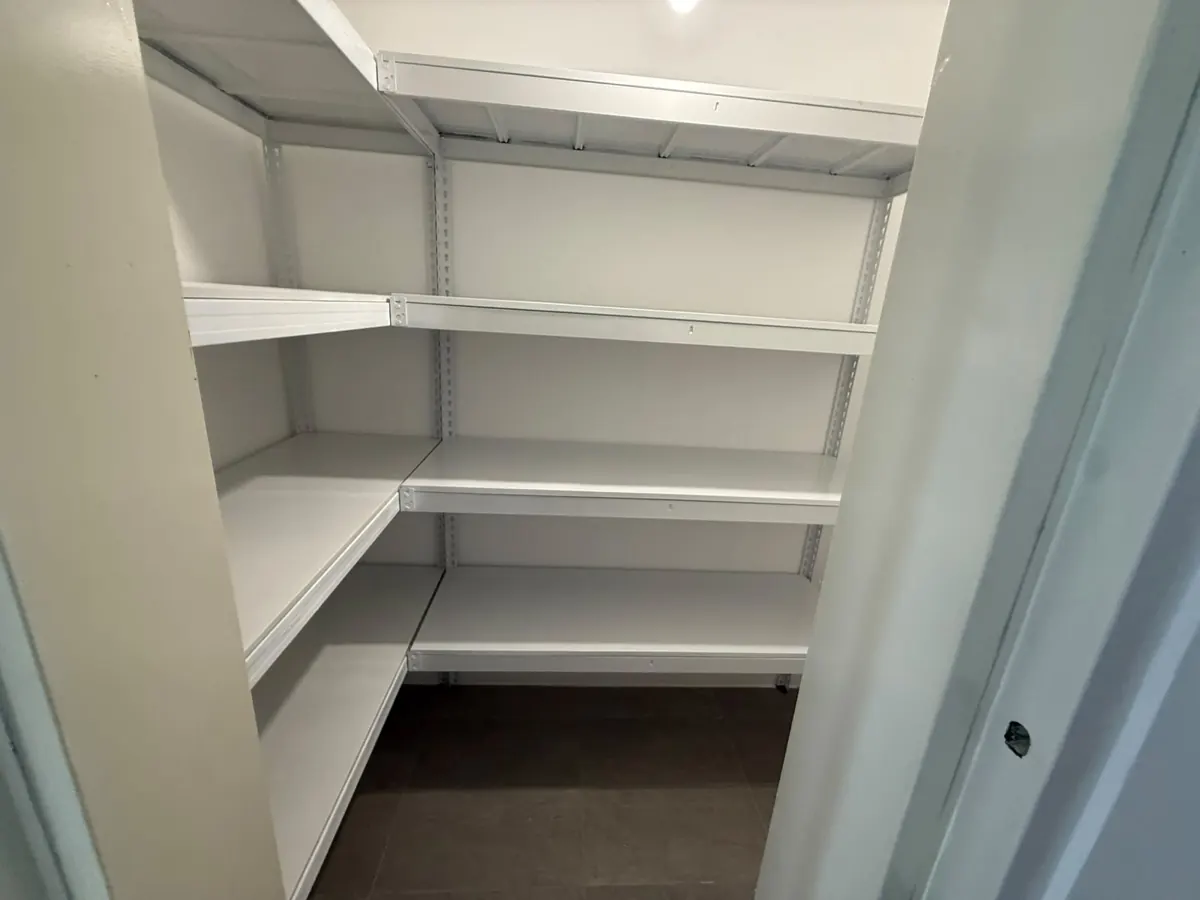
In our planner, Rack 1 sits along the top wall and Rack 2 runs down the side wall. Automatic mode adds the adjoining depth along the longer room wall. For a wide room, the top wall needs Rack 1 length + Rack 2 depth. For a tall room, the side wall needs Rack 2 length + Rack 1 depth. The other wall uses just its rack length. The two racks meet without overlapping; you can switch the connection manually.
| Room length | Rack 1 + side depth | Space remaining |
|---|---|---|
| 2200mm | 1500 + 500 = 2000mm | 200mm |
| 1800mm | 1200 + 500 = 1700mm | 100mm |
For a 1200 × 2200mm room with 500mm-deep racks, the top rack can be 1200mm long and the side rack 1500mm long. The side wall then uses 1500 + 500 = 2000mm. The remaining space is unused wall length, not a guaranteed walkway width. You must also check the second wall and door position. The planner calculates the distance from every rack edge to each room wall. These distances may include other racks and should not be treated as clear walkway widths. For a U-shape, add both outer rack depths to the middle rack length; a connected standard-size group may leave space to the opposite wall.
5. Confirm the corner connection and price
A seamless corner attachment removes the obstructing upright at the connected corner. It costs $30 per corner in addition to the rack sets. QH’s listed rating is up to 150kg uniformly distributed load per tier without the centre pole. Confirm the layout and intended load before ordering.
Our standard ML racks have four adjustable metal shelf levels and come in black or white. Listed prices include delivery and installation; confirm access conditions and availability when requesting your quotation.